Per Rule 11.8 of the CRMLS Rules and Regulations, after a listing changes to a finalized status, no one can remove any historical data, such as photographs, from the MLS.
The photos of sold properties assist agents and appraisers when they value and compare properties.
Upon a request from a Listing Agent, the local Association or CRMLS may update the listing to “Internet: NO,” which will prevent third-party sites from repulling the listing photos. However, the Association and CRMLS cannot guarantee that third-party sites will remove all historical photos previously sent out over the internet.
If your client wishes, you may remove all but one photo that includes a substantial portion of the exterior of the property prior to changing the listing to a finalized status (Sold, Cancelled, or Expired). See below for the steps to change a listing to Sold in each MLS system.
Click here for Flex
Click here for Matrix
Click here for Paragon
Flex
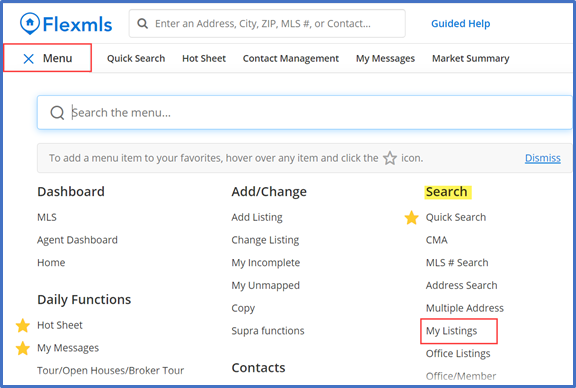
From the Menu, go to the Search section and click on My Listings.
From the List view, click the down-arrow next to the MLS ID, and select Edit Listing.

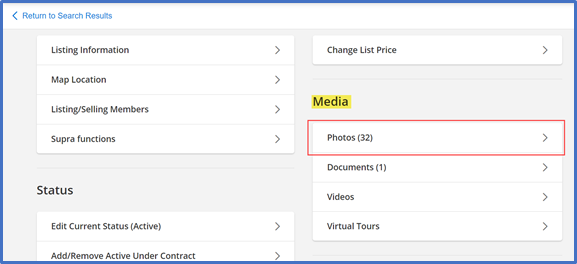
Scroll down to Media and click on the Photos tab.
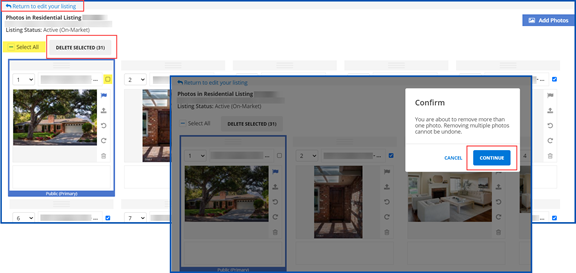
Select the photos to delete. (Tip: Click Select All, and then uncheck the photo you want to keep.)
Click Delete Selected. You will see a dialog box appear to confirm you want to delete the selected items. Click Continue.
Click Return to edit your listing in the top right corner.
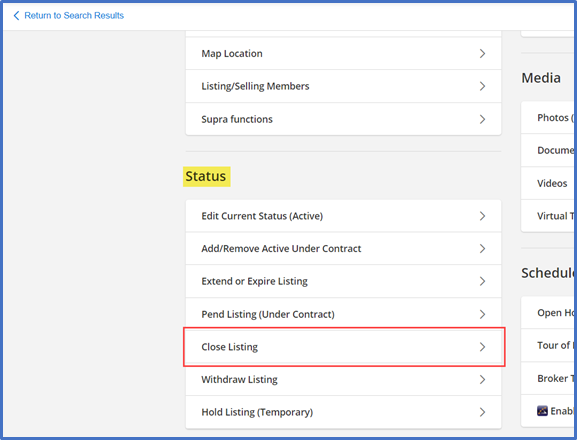
To update the listing status, scroll down to the Status section and click on the Close Listing tab.
Complete all required and relevant fields, then click the Save button at the bottom.
(Note to Flex users: Active listings must go into Pending status before you change the status to Closed/Sold.)
Matrix
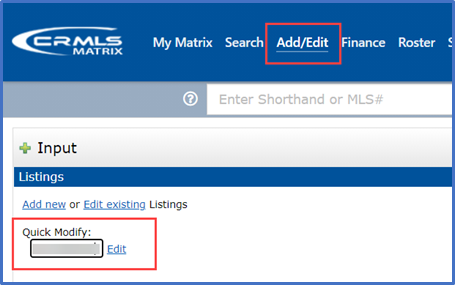
Click on the Add/Edit tab, enter your listing number in the Quick Modify box, and click Edit.
Scroll down and click on Manage Photos.

Select the photos to delete. (Tip: Click the Check All box, and then uncheck the photo you want to keep.)
Click Delete Checked at the bottom. You will see a dialog box asking to confirm that you want to delete the selected items. Click Ok.

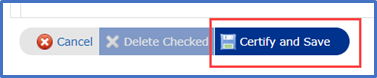
Click Certify and Save.
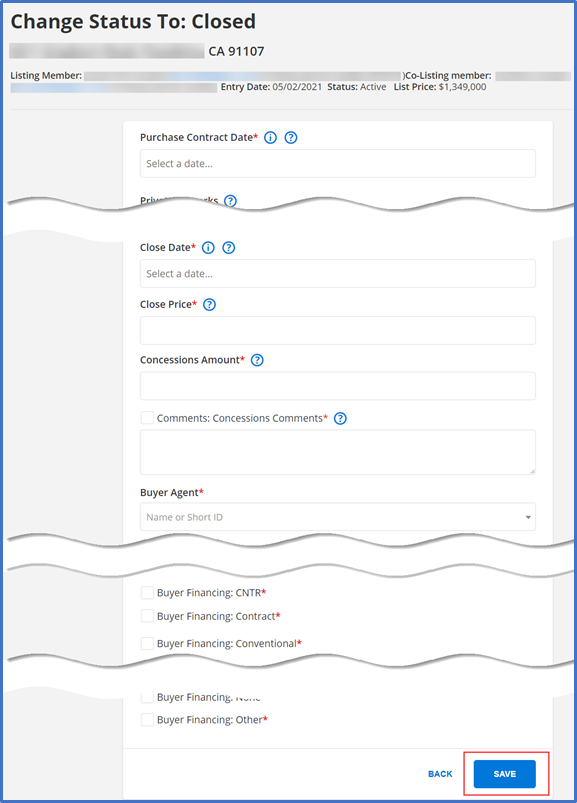
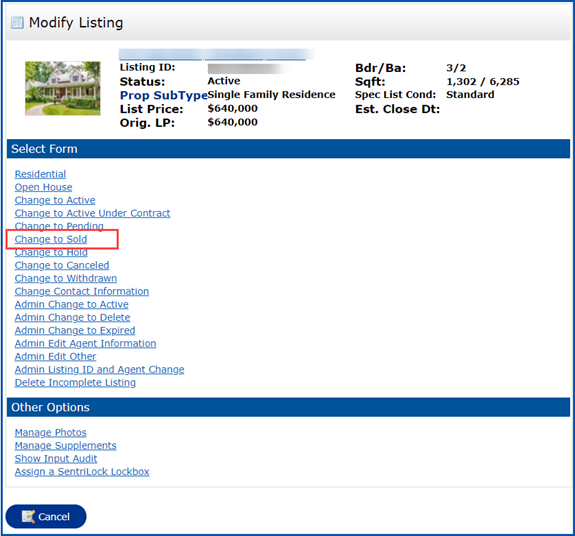
To update the status, click on Change to Sold.
Complete all required and relevant fields and then click the Submit Listing button at the bottom.

Paragon
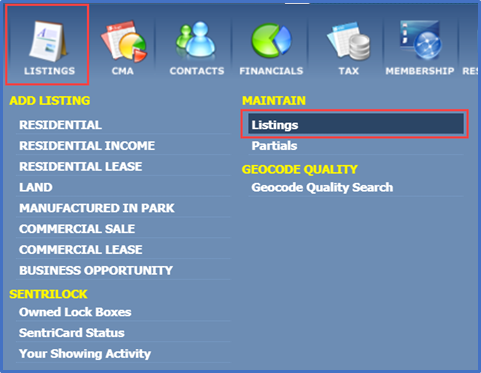
Click on the Listings icon on the Home Page. Under Maintain, click on Listings.
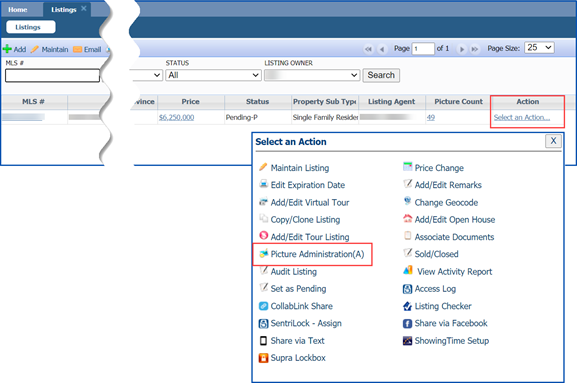
You will see all your listings on this page. Click on the Select an Action link to the right of the listing you want to update, and then click on Picture Administration.
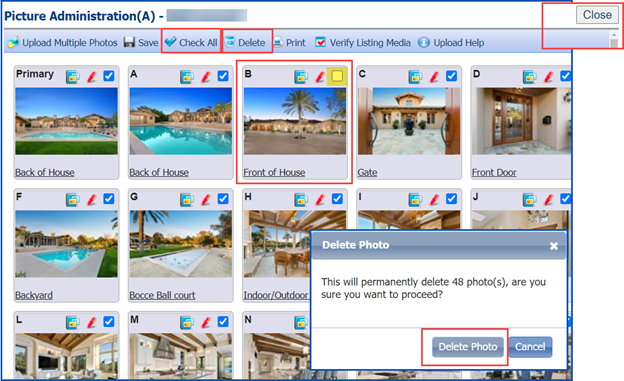
Select the photos to delete. (Tip: Click the Check All button, and then uncheck the photo you want to keep.)
Click Delete at the top of the page.
You will see a pop-up asking to confirm that you want to proceed and permanently delete the selected photo(s). Click Delete Photo.
Click the Close button in the upper right corner to exit the Picture Administration section.
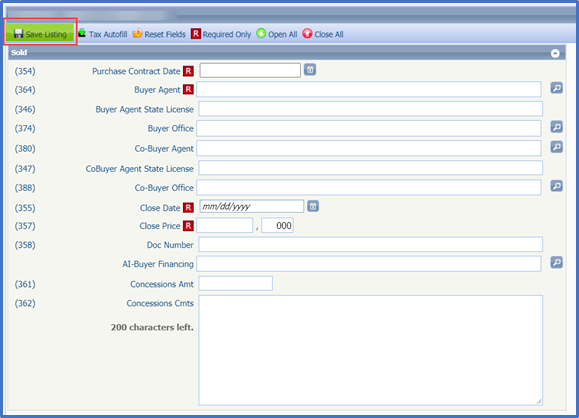
From the Listings page, click on Select an Action, and then click on the Sold/Closed option.

Complete all required and relevant fields and then click the Save Listing button at the top left.
Updated June 2021