This guide will show you how to create a Glide Property Portal listing link and add it to the Agent or Private Remarks field in your listing. (You can also use this link in social media posts and email communications.)
In Glide: Create Link
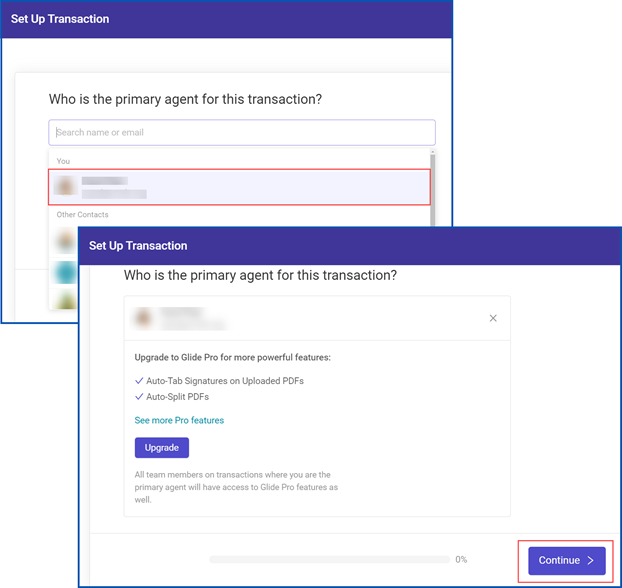
On the Transactions page in Glide, click on the New Transaction button.
Select the primary agent for this transaction and click the Continue button.
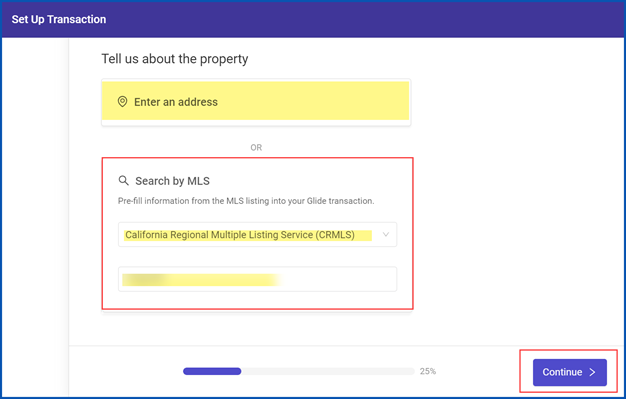
On the Tell us about the property page, use either Enter an address or Search by MLS.
For this example, we will use Search by MLS, which is the most convenient option if your listing is already in the MLS.
Click the drop-down arrow and select California Regional Multiple Listing Service (CRMLS).
Next, enter your MLS listing number and click the Continue button.
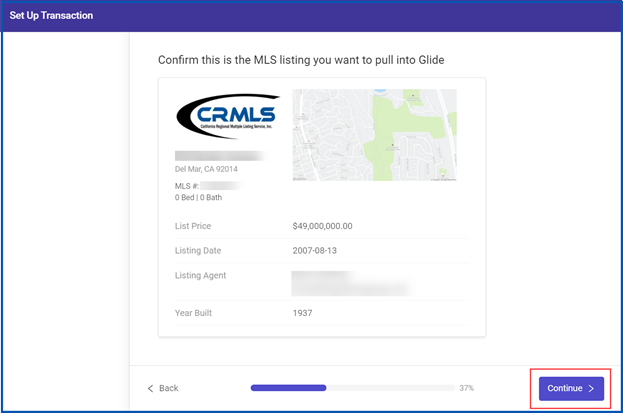
Confirm that this is the listing you want to pull into Glide and click Continue.
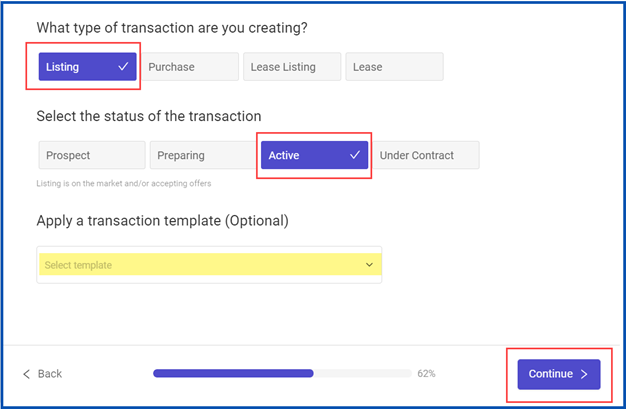
Select what type of transaction you are creating.
For this example, we have selected Listing. Once you have selected the type, additional options will appear.
Select the status of the transaction. For this example, we have selected Active.
Apply an optional transaction template, and then click Continue.
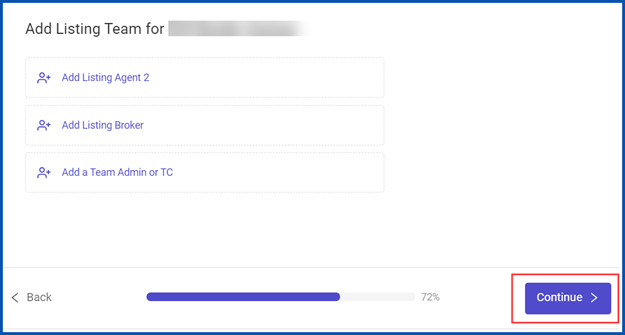
Add Listing Team members if applicable, and then click Continue.
You can add Sellers for this property at this stage, or you can update and add this information later. Click the Continue button to proceed.
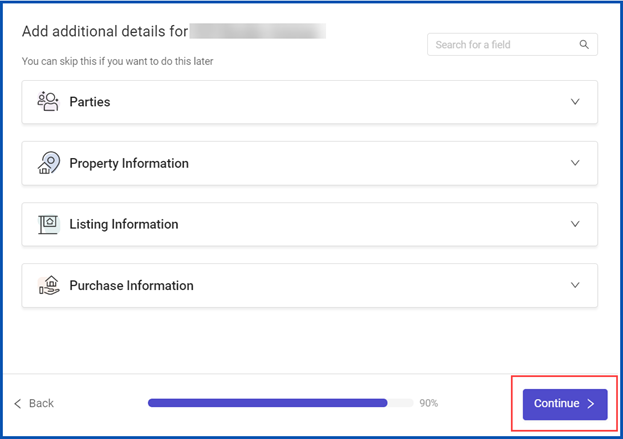
You can add additional details for your property now, or you can update and add them later.
- Parties – Option to add or edit the listing team.
- Property Information – Option to add or edit the property information. This is where you can upload a new image to display in your Glide Property Portal.
- Listing Information – Option to update the listing information, such as remarks.
- Purchase Information – Add Key Dates. Typically, you will enter this information once your client(s) accept an offer.
When you finish entering these details, click the Continue button to create your listing link.
Note that any changes made in Glide do not affect the listing in CRMLS.
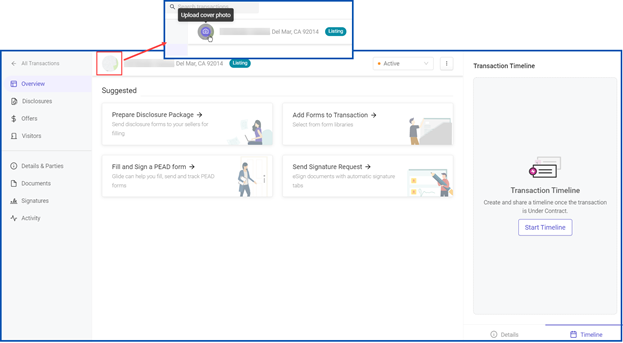
You will see the Overview page. Here you can update the Property Portal image by clicking on the image (or camera icon) next to the listing address and selecting upload cover photo.
Click on the Offers section on the left to Customize or Preview your Glide Property Portal. This is what real estate professionals will see when they open your Glide Property Portal listing link. To exit the preview screen, click the back arrow in your browser
Click on the Copy Link button.
Adding a Glide Listing Link to Agent or Private Remarks
Once you have clicked on the Copy Link button in Glide, open your listing in the MLS.
Scroll to the Agent or Private Remarks field, and right click for the option to paste the listing link.
Consider including instructions for agents, such as “Copy/Paste this link to use Glide Offers.”
Click below for instructions for the CRMLS system you use:
Flex
Matrix
Paragon
Flex
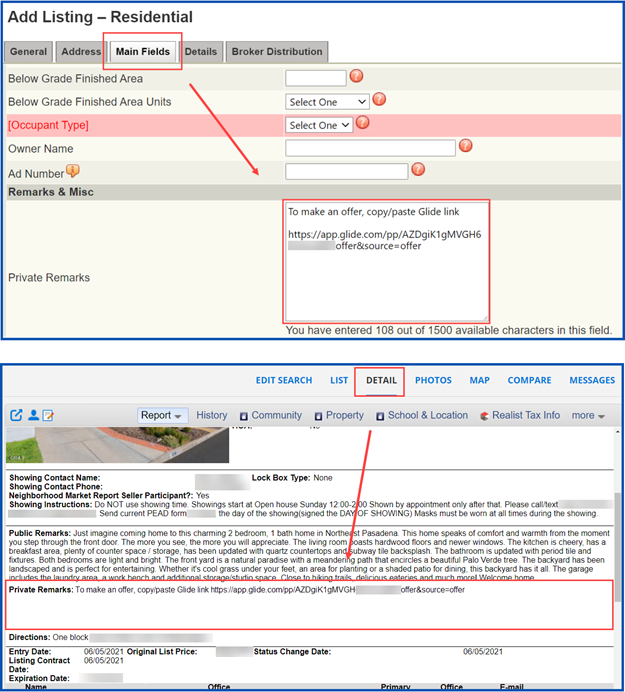
To add the link to your listing, click the Main Fields tab and scroll down to Private Remarks.
Right click for the option to paste the link. Enter any additional instructions or remarks, and then click Add Listing or Save Incomplete to save.
The link will display in the Private Remarks section in the Detail report view.
Matrix
To add the link to your listing, click the Office/MLS tab and scroll down to Private Remarks.
Right click for the option to paste the link. Enter any additional instructions or remarks, then click Submit Listing or Save as Incomplete to save.
The link will display in the Private Remarks section of Agent reports.
Paragon
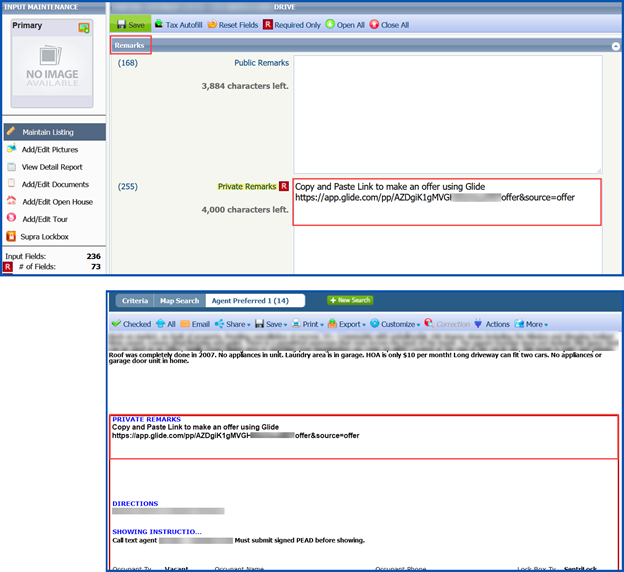
To add the link to your listing, scroll down to the Remarks section, and then to Private Remarks.
Right click for the option to paste the link. Enter any additional instructions or remarks, and click Save or Save as Partial to save.
The link will display in the Private Remarks section of Agent reports.
Updated June 2021

