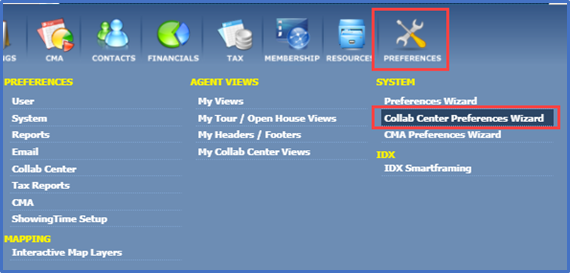
Before turning on the Collab Center Auto Notifications, you’ll want to set up your Collab Center Preferences. The easiest way to set up your Preferences is to follow the steps in the Collab Center Preferences Wizard.
Activate Collab Center Automatic Notifications for EXISTING contacts
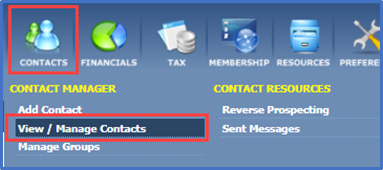
Click on the Contacts Icon, then select View/Manage Contacts.
Click on the contact’s name to open their Contact Information Folders.

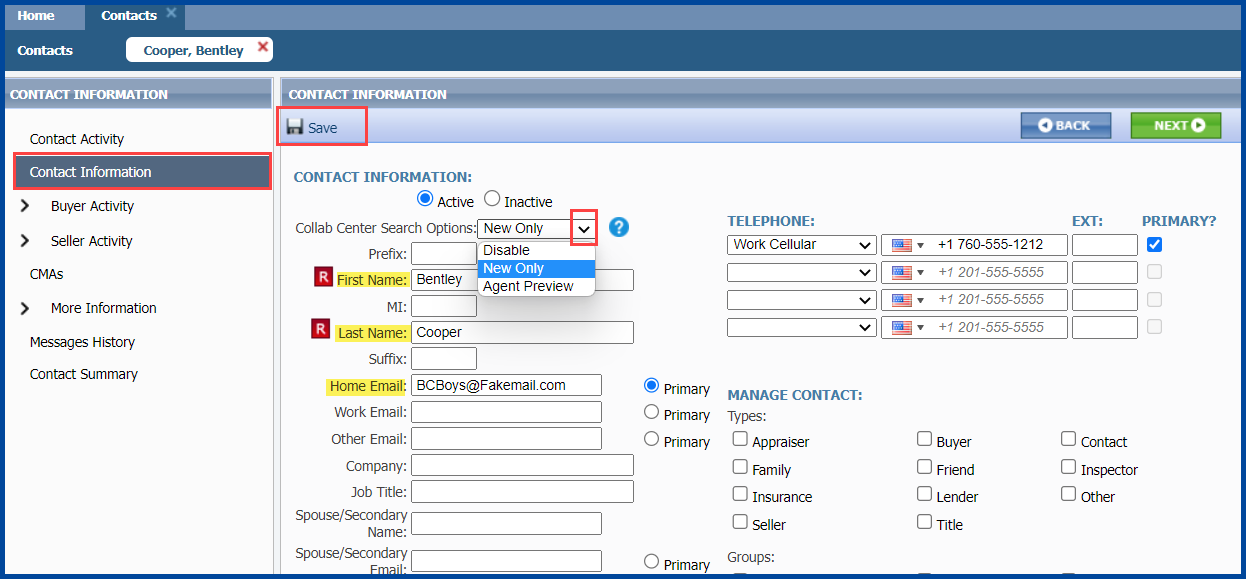
Click on Contact Information, then click on the down arrow for Collab Center Search Options and select a search option. The default option selected in your Preferences will automatically display in the field.
- Disable: Prevents your client from creating any Collab Center search.
- New Only: Allows your client to create a new Collab Center search.
- Agent Preview: Activates Agent Preview, where you Approve or Disapprove the listing sent to your client in the site. With this option enabled, your clients will not be able to create a new search.
Ensure the contact’s email and information are correct, then click Save.
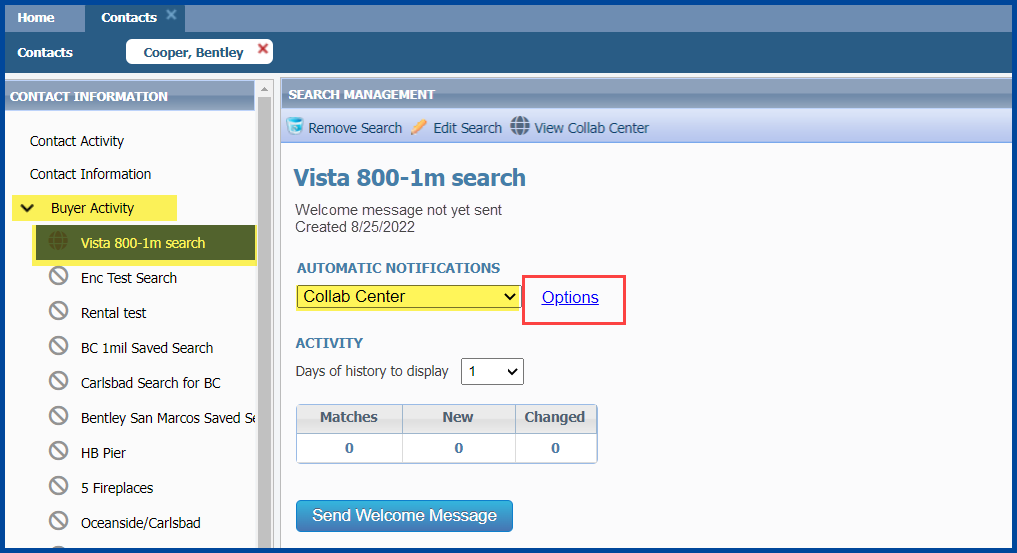
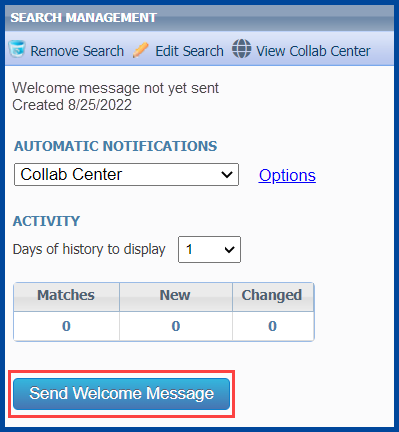
Click on Buyer Activity, then click on the name of the search. Collab Center is the default automatic notification.
Click Options to select the notification settings.
If this is the first search for this contact that you’re setting up with the Collab Center with Automatic Notification, please continue following the instructions below.
If the Collab Center with Automatic Notification is already set up for your contact on another search, the process is complete. The notification for this new search is now activated. You can stop here, and the system will send notifications with the default settings. To update the settings, follow the instructions below under Notification Settings.
Notification Settings
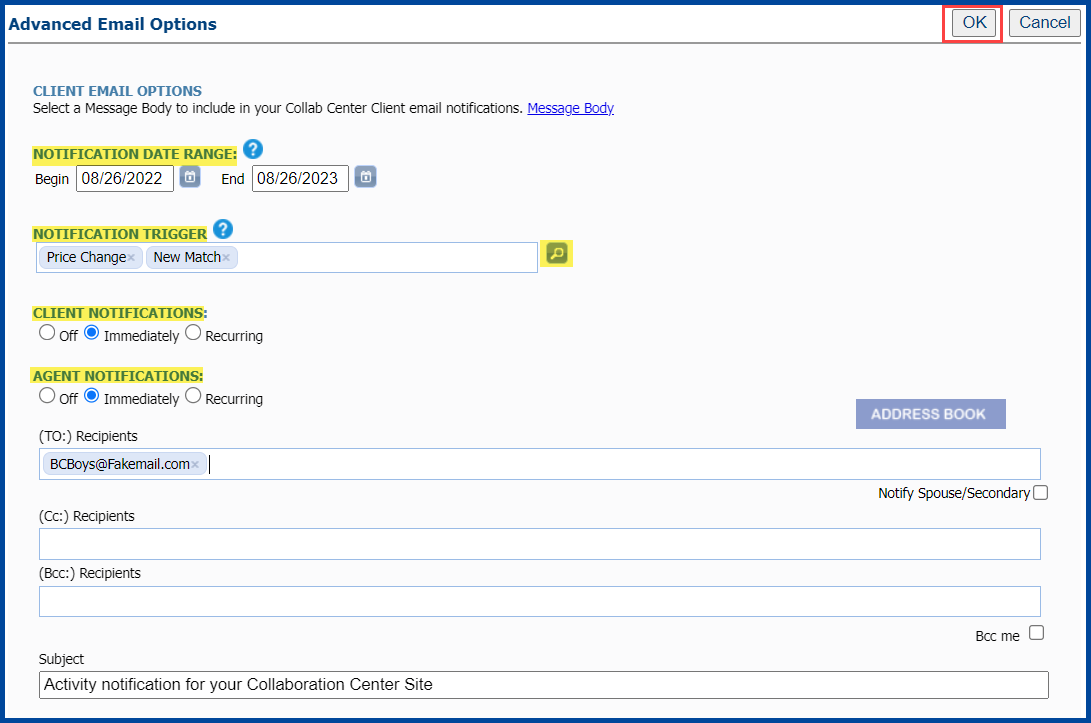
Click on Options and the Advanced E-Mail Options will display.
- You can modify the Notification Date Range (cannot exceed 12 months).
- Click the magnifying glass next to modify the Notification Trigger, to select the type of notices your contact will receive such as New Matches, Price Changes, etc.…
- Select the Client Notifications: Immediately or Recurring.
- Immediately (default) sends emails as soon as properties match the search. The system may send several emails daily.
- Recurring sends an email at the time frame you set. Ideal for contacts requesting Daily, Weekly, or Monthly emails.
- Select Agent Notifications to decide when you would like to be notified: Off (no notifications), Immediately, or Recurring.
- You can also add additional email addresses to the Cc or Bcc Recipients fields which will stay with this notification.
- We recommend you DO NOT Bcc yourself to avoid duplicate emails.
Select OK to save settings.
Click Send Welcome Message. As a reminder, you must select the Send Welcome Message button if this is the first search for this contact that you’re activating Collab Center with Automatic Notifications.
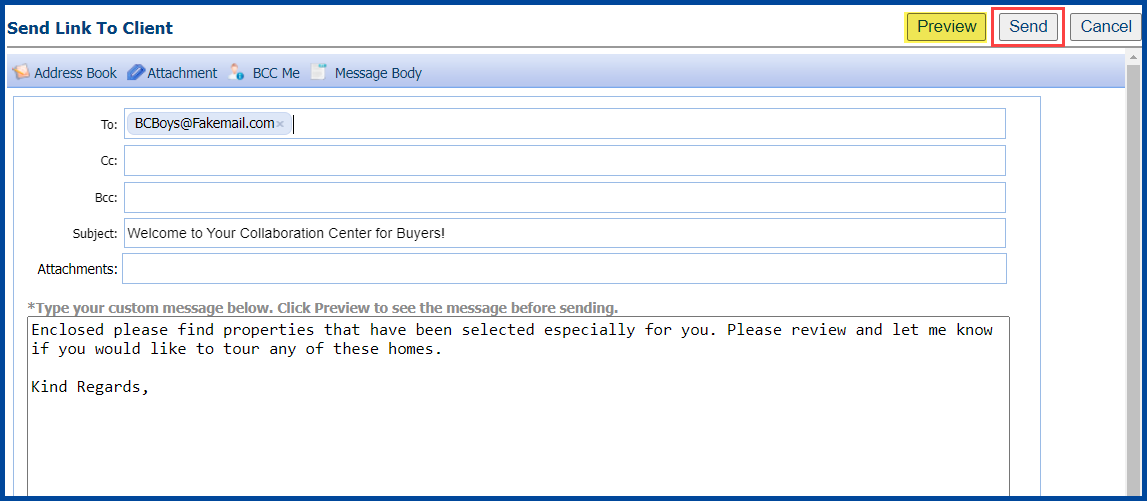
The Send Link to Client box will display. This is a one-time email welcoming your contact to the Collab Center.
You can preview the email, add a personalized subject line, or add a personalized message. Click Send to start the Automatic Notification for this search.
Note: Your clients will need to create a password, which is noted in their welcome email.
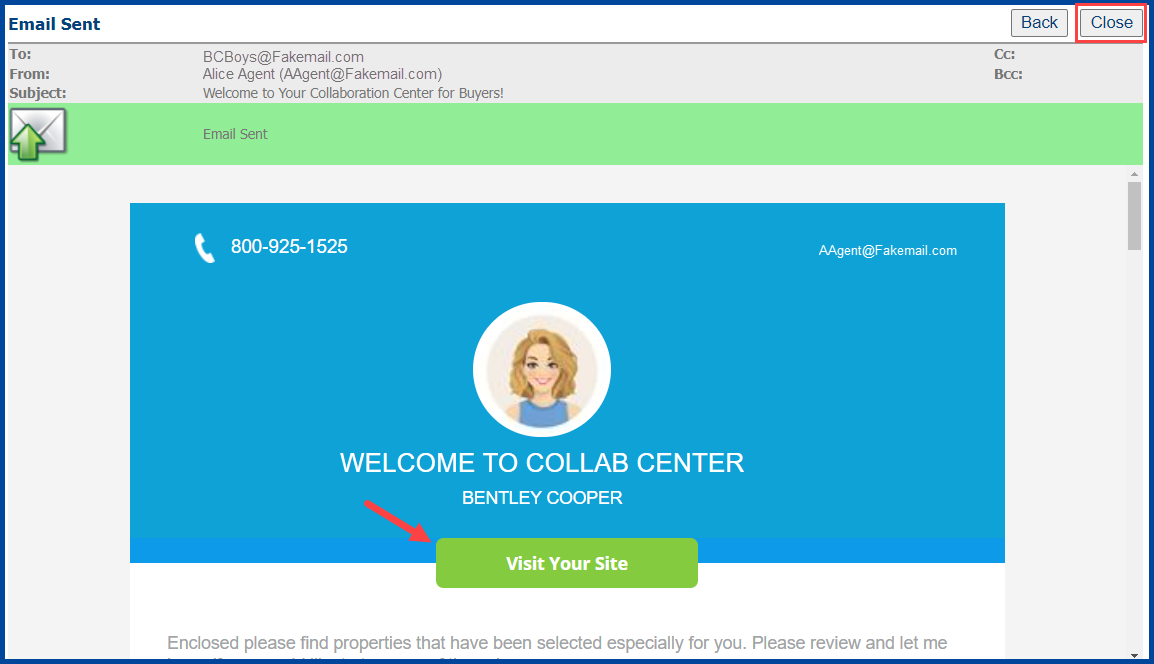
A Sent Email confirmation will display. The automatic notification is now active.
Scroll down to view a sample of the client’s email.
Click Visit Your Site to view the Collab Center site.
When finished, select Close to return to the contact information.
This completes the process for setting up the Collab Center with Automatic Notification.
August 19, 2020, updated Aug 26, 2022