RealReports generates detailed reports using data from top providers and includes an AI property advisor to help guide you through the information.
Accessing RealReports
Log into your REcore dashboard and select the RealReports tile.

This will enable automatic sign-in.
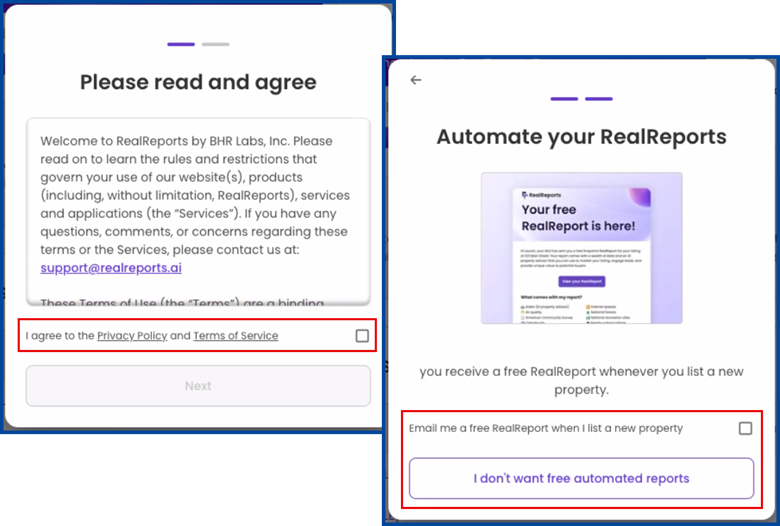
Accept the terms and conditions and choose whether to receive automated reports.
Creating a RealReport
Enter the Address of your desired property in the highlighted box.
Note: Sample reports are available to view how the RealReport will look.

Choose a RealReport type: Snapshot, Buyer, or Seller.
Note: CRMLS users receive unlimited Snapshot reports and Buyer or Seller reports at a discount.

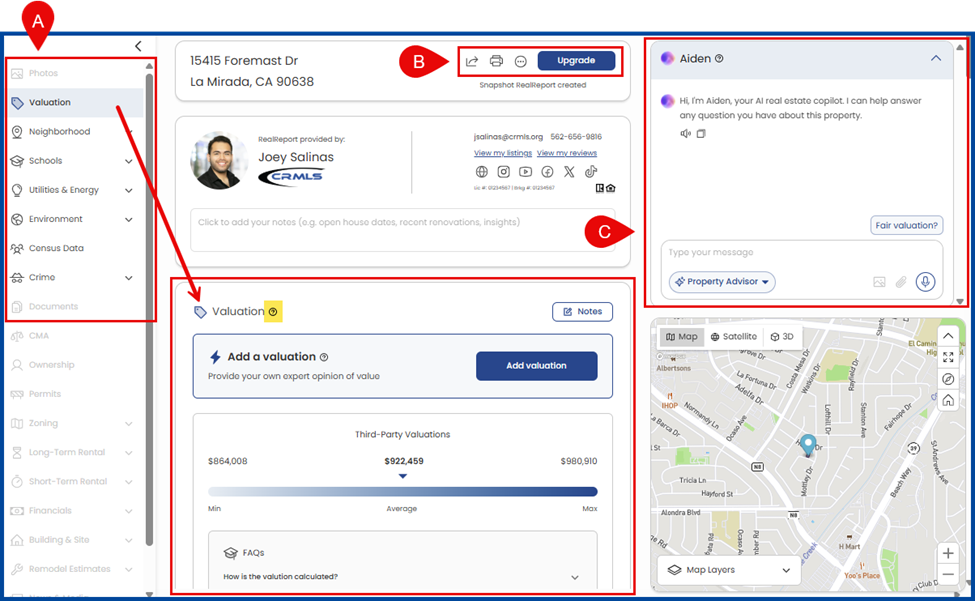
Reading the RealReport
A: In the left panel, select an available report to jump to its section. Each section contains helpful question mark icons (?) to learn more about the data.
Note: Maps update in each section to show overlays with additional property information.
B: See the top of the page for sharing options and report settings.
C: Ask questions to Aiden, the AI property advisor, in the chat box on the right.
Adding Personal Branding (optional)
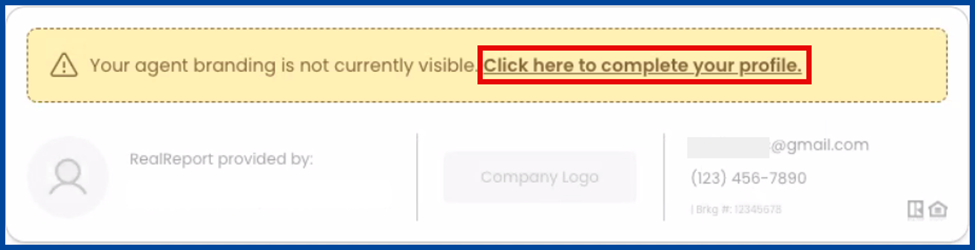
Click the “complete your profile” link to access Agent Branding.
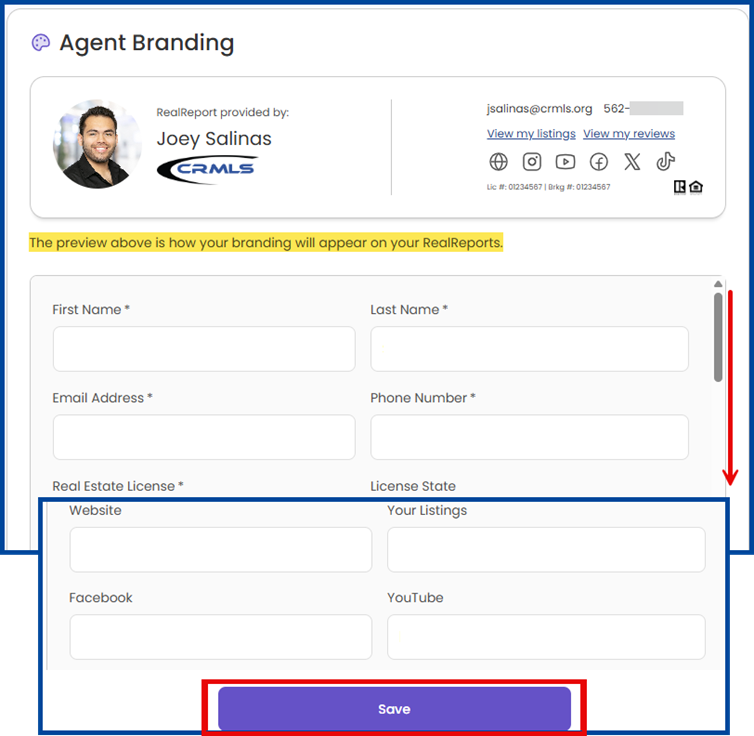
Add contact information and other details, then click Save.
Note: The live preview shows how your branding will appear on the RealReport.
Sharing the RealReport
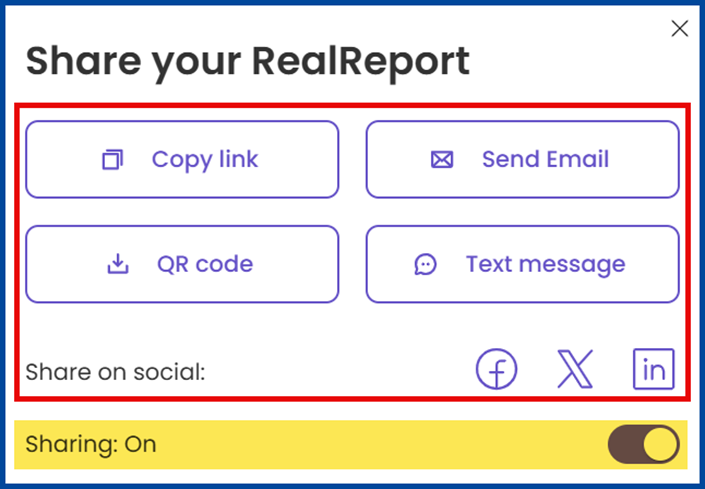
Select the Share icon at the top of the report or, for a hard copy, click on the printer icon to print as a PDF.

Select your preferred Share option.
Note: Use the Sharing toggle to pause RealReport access.
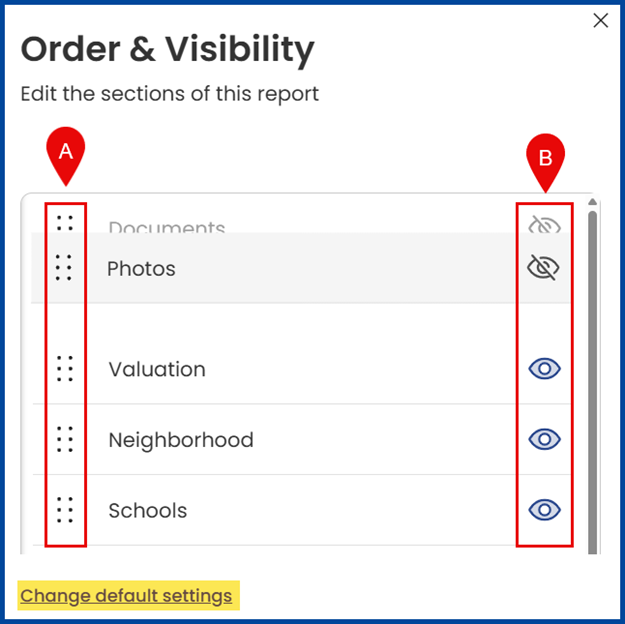
RealReport Settings
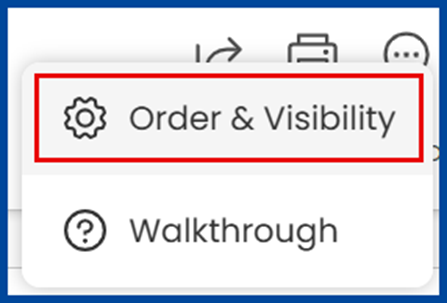
Click the 3-Dot menu icon to manage your report.

Select Order & Visibility from the drop-down.
Manage your RealReport sections:
A: Drag to reorder sections.
B: Click the eye icon to hide sections.
Note: Click “Change default settings” to save the order and visibility for all future RealReports.