This guide covers how to add listings in CRMLS Paragon. While it does not address every input field in the listing, it does provide answers to common questions about the process.
Adding Listings
Hover over the Listings icon and choose the property type (e.g., Residential).
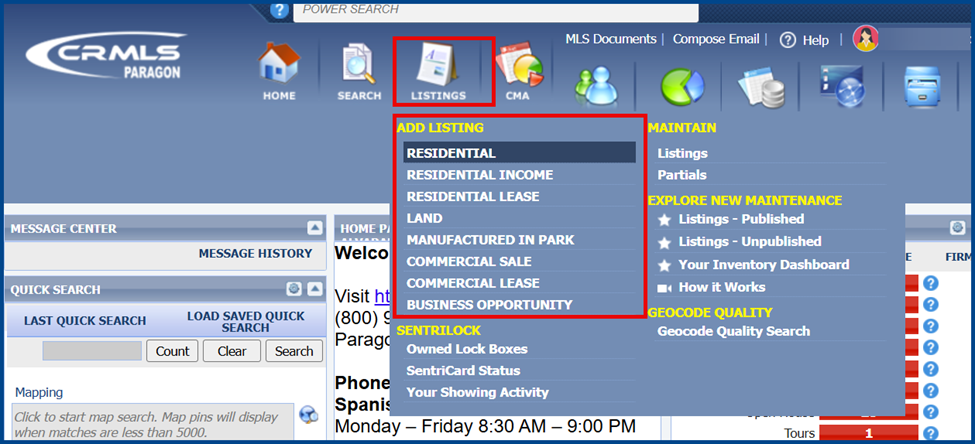
Note: Choose your listing type carefully. Once selected, it cannot be changed. If the wrong type is selected or needs to be updated, restart the process from the beginning.
Listing Fields
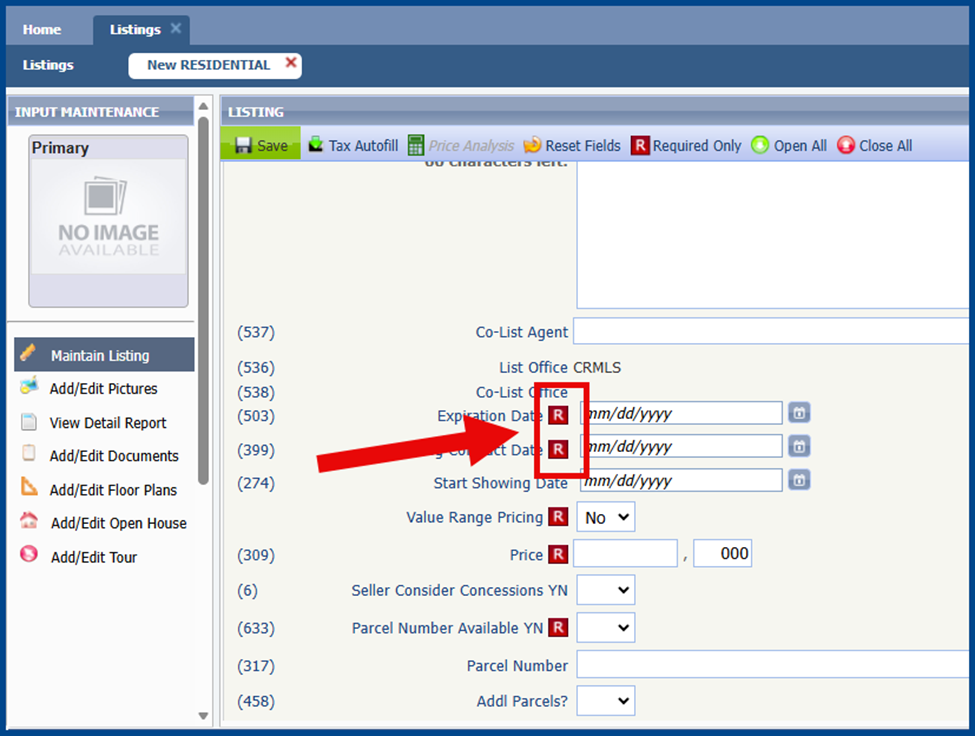
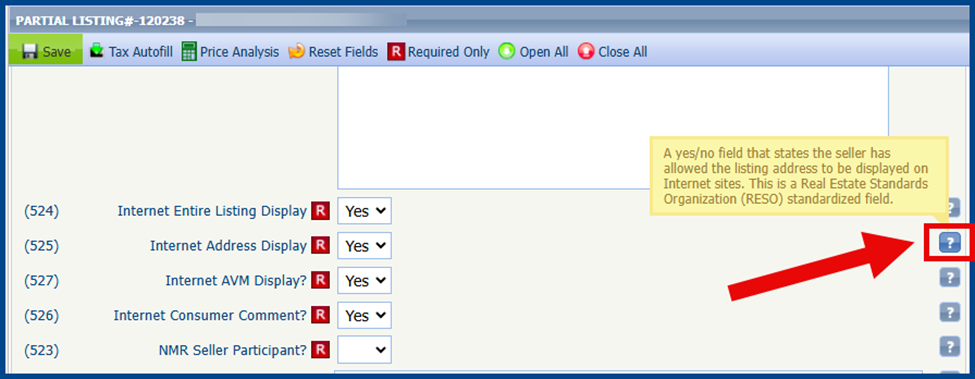
Enter property details from the Listings page. Complete every field marked with the red R icon, as these are required.
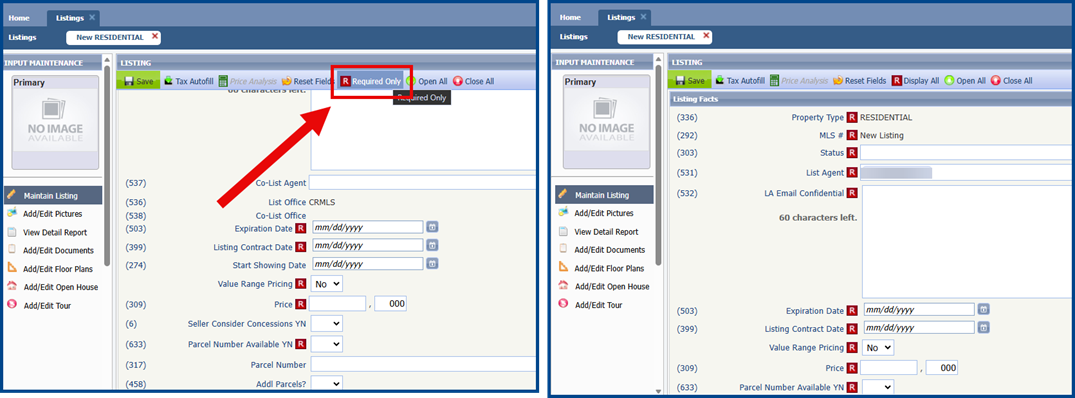
Click Required Only to see just the required fields.
Hover over the question mark icon for a brief description of each field.
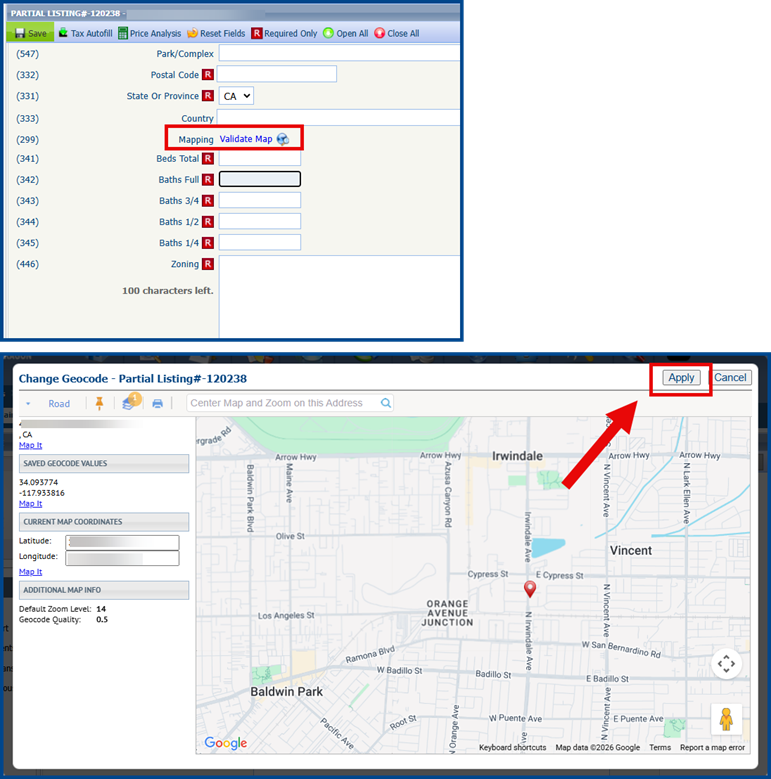
Verifying Mapping
Click Validate Map next to the Mapping field to verify or adjust the listing’s pin location. When the window opens, zoom in on the map pin. Click and drag the pin to the correct parcel, confirm its placement, and click Apply.
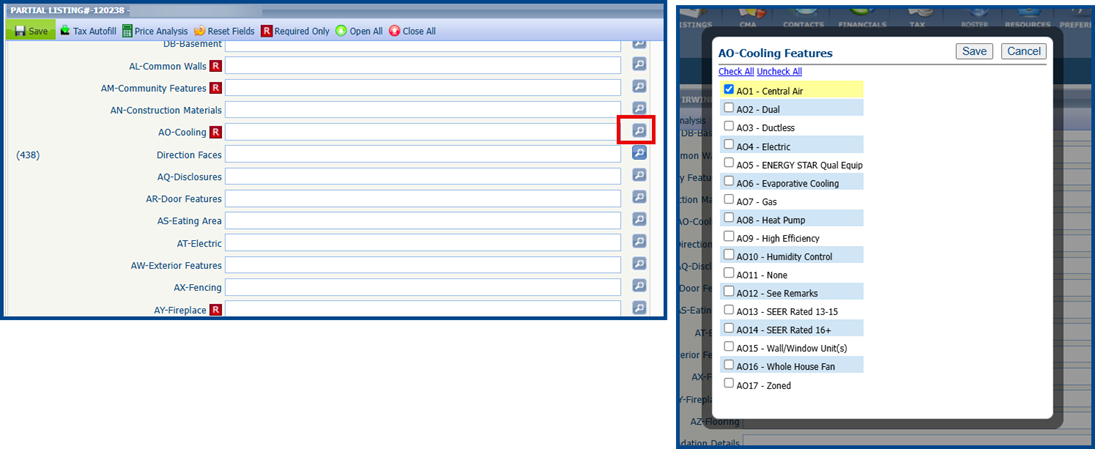
Features
Click the Features tab to highlight specific property features if desired. Select the magnifying glass icon to see the full feature list for a specific category or start typing a specific field and matching features will auto-populate.
Remarks
Highlight property details in the Public and Private Remarks fields. Enter details in Public Remarks to display them anywhere the listing is accessible, including public sites. Use Private Remarks for agent-only information on the MLS.
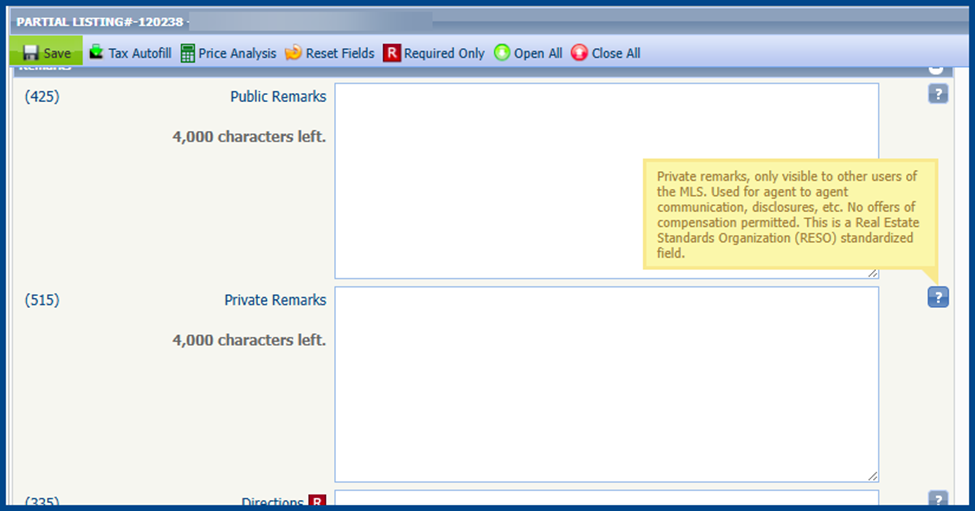
Note: Regardless of visibility, all remarks must follow CRMLS Rules and Regulations.
Virtual Tours
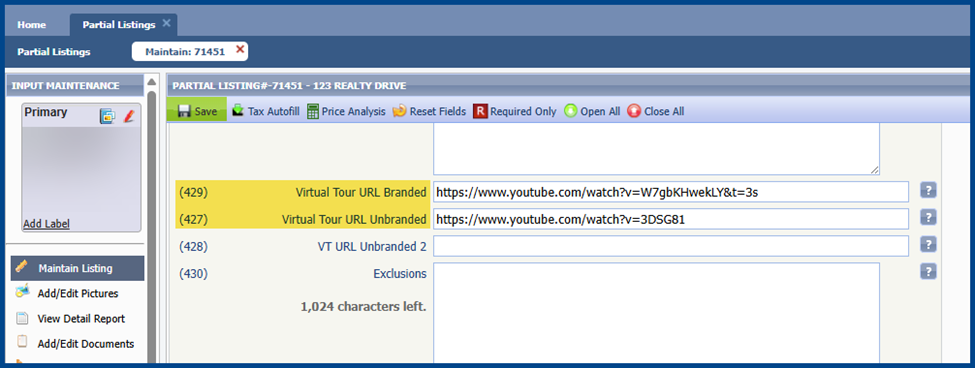
Open the Remarks section on the Partial Listings page. Scroll down to fields (429) and (427). Add any branded or unbranded tour links to the designated fields. Please ensure any added links are in compliance with CRMLS Rules & Regulations.
Adding Photos
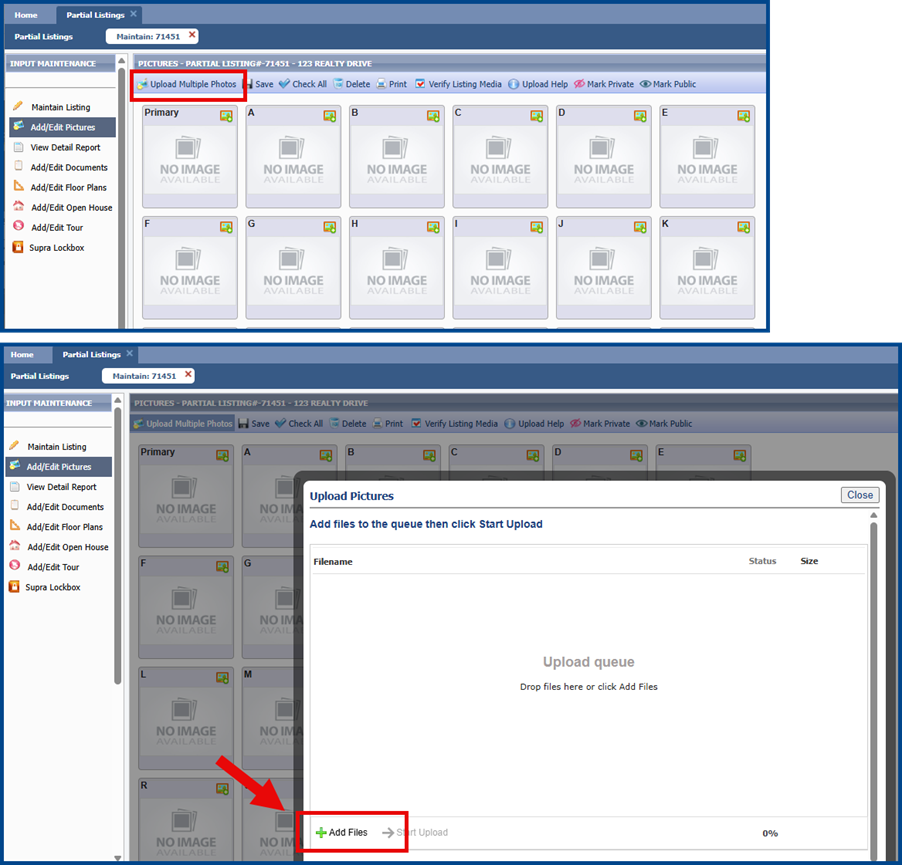
Click Add/Edit Pictures on the left side of the Partial Listings page.

Click Upload Multiple Photos, then select Add Files.
Select desired photos. Click Open to relaunch the Upload Pictures window.
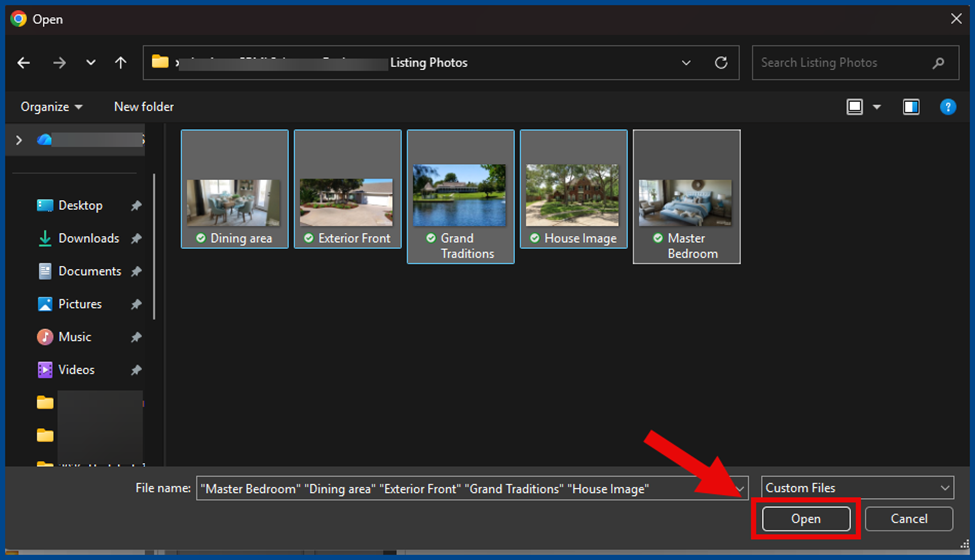
Click Start Upload to add the photos. Once the process is complete, click Save.

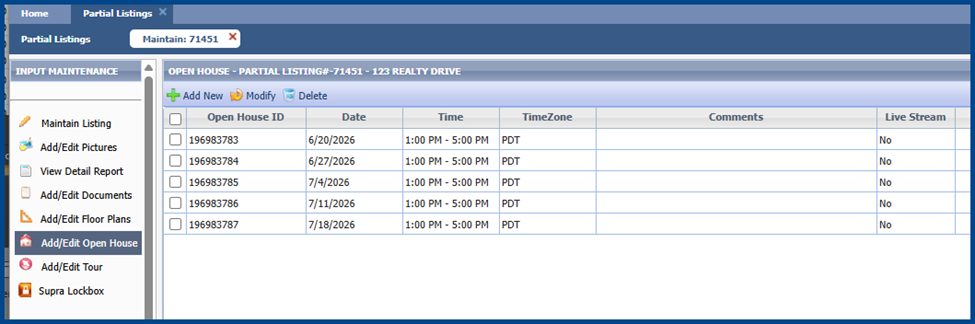
Adding Open Houses
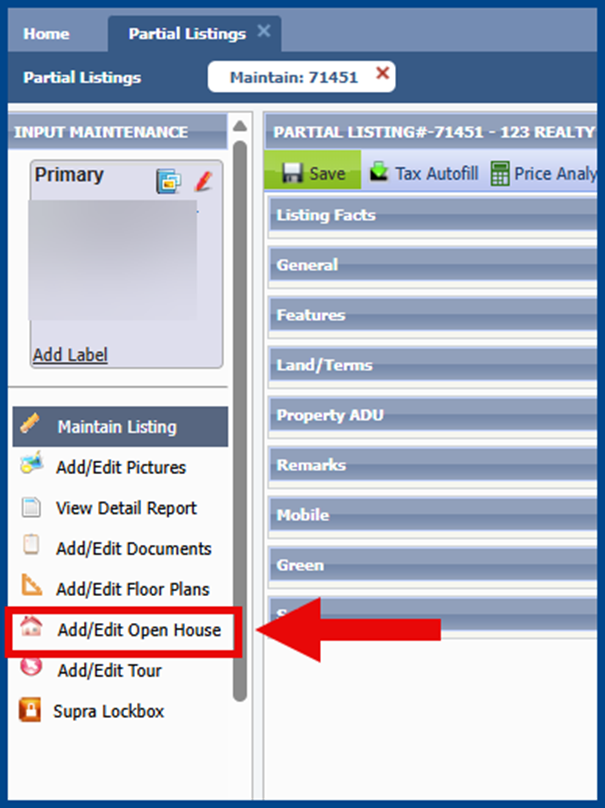
Select Add/Edit Open House on the Partial Listings page.
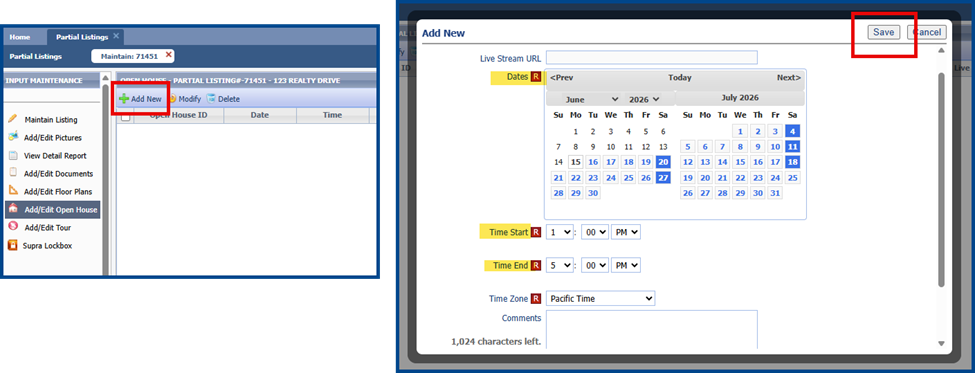
Click Add New and enter any relevant details. If the open house spans multiple dates, select the applicable days on the calendar. Click Save.
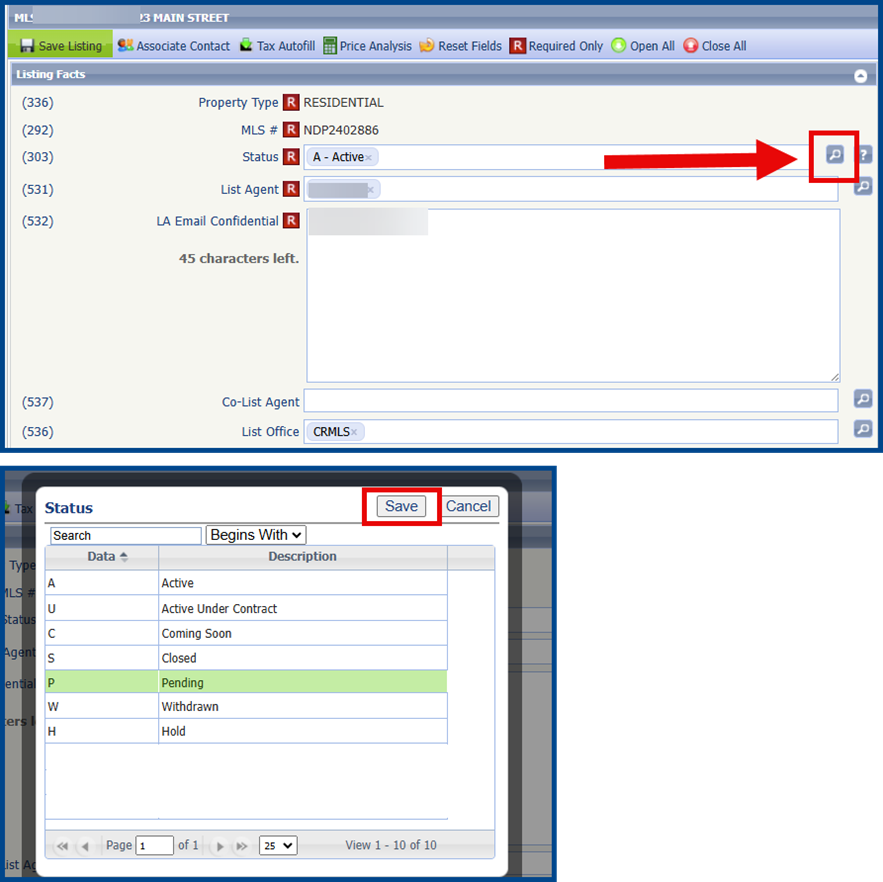
Updating Listing Status
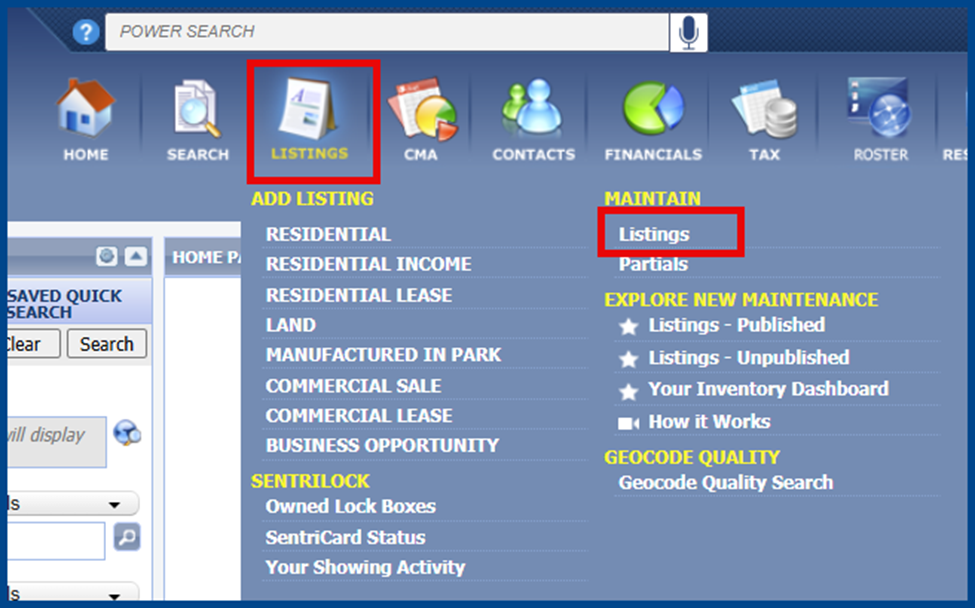
From the Listings tab, select Listings under Maintain.
Click on the field for the listing’s MLS #.
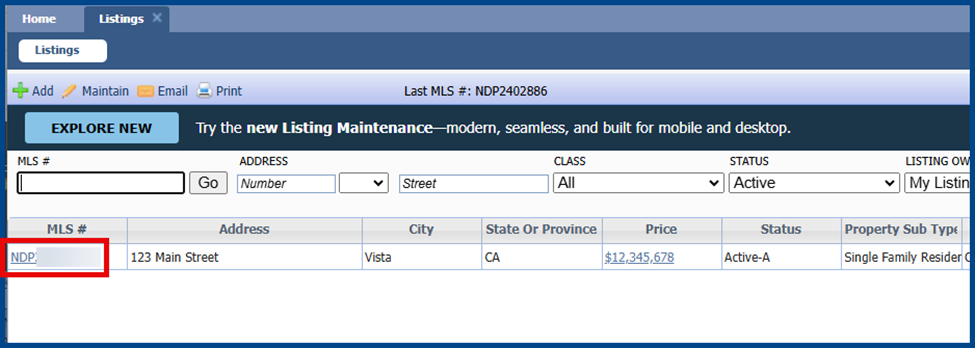
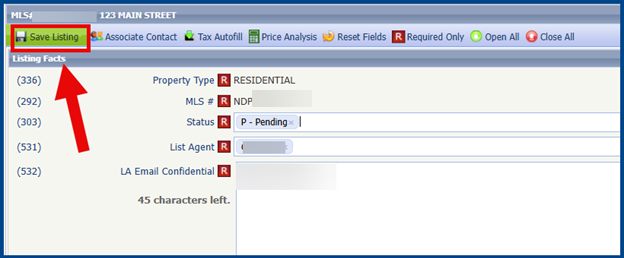
Click the magnifying glass icon to change the required Status field. Click Save.
Complete all required fields. Click Save Listing.